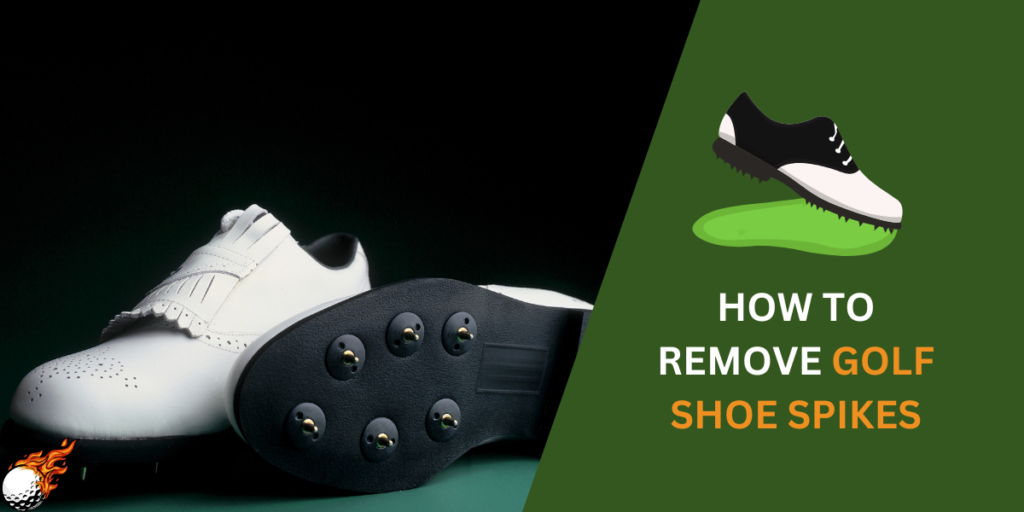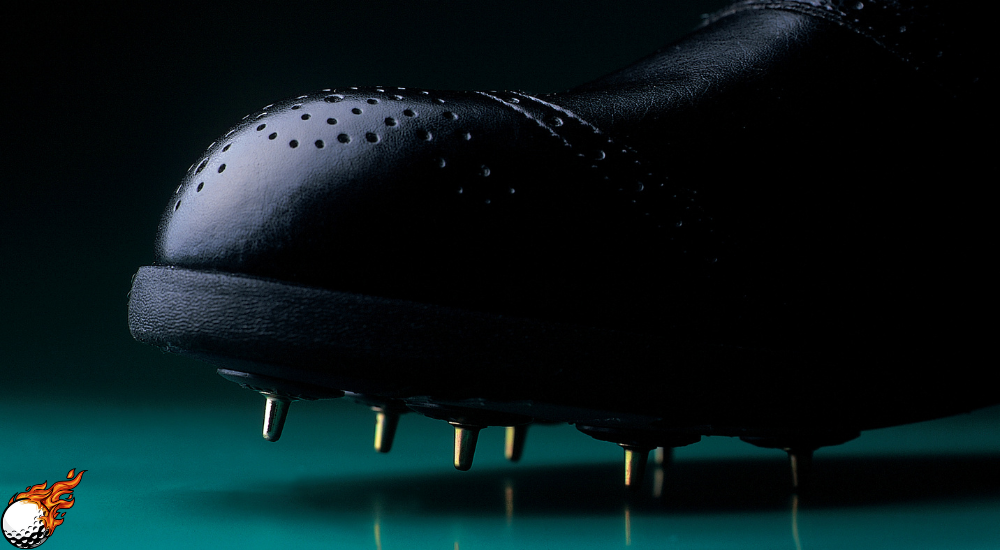
Metal or plastic, those spikes on the bottom of your golf shoes can get you down if you don’t know how to remove them. They might be stuck tight, or you may need help determining what tool to use.
Don’t worry! This guide will show you exactly how to take out those old spikes, step-by-step, with tools you probably already have, like needle-nosed pliers. We’ll even cover how to put new ones in!
So grab a shallow pan, and let’s get started making your golf shoes look and feel new.
How to Remove Golf Shoe Spikes:
- Gather Tools: Spike wrench, shallow pan, optional cleat ripper & flathead screwdriver.
- Soak (if needed): In warm water for 10-15 minutes to loosen debris.
- Twist: Insert the spike wrench into the spike and turn counter-clockwise to loosen.
- Stubborn Spikes: Use pliers, WD-40, or soak longer.
- Clean: Clear out any debris from the spike holes.
- Replace: Make sure new spikes are the correct type & size. Tighten them with the wrench.
Understanding Your Spikes
Alright, let’s dive into getting those old golf shoe spikes out.

Whether you’ve got metal spikes or the newer plastic ones, the process is pretty similar. If your spikes are really stuck, don’t worry! We’ll cover how to handle that, too.
Before we start, grab everything you might need. Here’s your checklist:
- Replacement spikes: You’ll need a new set if you’re replacing the old ones.
- Needle nose pliers: These can come in handy for those really stubborn spikes.
- A shallow pan: Fill this with warm, not hot, water if you need to loosen things up.
Safety First: Never use a drill bit or any sharp tool to try and remove spikes. This can damage your golf shoes and even cause injuries. If a spike is really stuck, we’ve got a safer way to get it out.
If you bought new shoes and want to change the spikes, that’s easy, too.
We’ll walk you through it all step-by-step. So, are your tools ready? Let’s get started on making those golf shoes look like new so you can hit the course with confidence!
Tools and Materials Needed
Alright, let’s gather our tools. Please think of this as our golf spike removal kit!

Must-Haves
- Spike Wrench: This is your main tool. It’s like a little wrench that fits right into the spike and lets you twist it out.
- A Shallow Pan: If you’ve got stubborn spikes, a warm water soak can work wonders.
Nice-to-Haves
- Cleat Ripper: This tool can help pry out those really tough plastic spikes.
- Flathead Screwdriver: Sometimes, a little extra leverage is all you need. A flathead screwdriver can help you get a grip on a spike to twist it.
What NOT to Use
- No power tools! Drills and other power tools can damage your shoes. We’re going for a gentle approach here.
One more thing: If you play golf often, it’s smart to keep a spike wrench in your golf bag. That way, you can fix a loose or lost spike right on the course!
Now that you’ve got your tools ready, let’s get those old spikes out!
Removal Process
Okay, it’s time to get those old spikes out! Here’s how it’s done:

1: Get Set Up
- Find a spot where you can work comfortably. Your kitchen table or a workbench works great.
- Grab your trusty spike wrench. If you’re dealing with plastic spikes, have that cleat ripper handy too.
2: Soak (if needed)
- If your spikes are looking a bit stubborn, fill your shallow pan with enough warm water to cover the soles of your shoes.
- Let them soak for about 10-15 minutes. This will soften the dirt and debris, making the spikes easier to turn.
- If the spikes are still stuck after soaking, you can try spraying a little WD-40 around the base of the spikes. Let it sit for a few minutes before trying again.
3: Get a Grip (and Twist!)
- Take one shoe out of the water (if you soaked it) and dry it off.
- Place the spike wrench on a spike, making sure it fits snugly.
- Turn the wrench counter-clockwise (to the left, like you’re opening a jar). The spike should start to loosen.
- If it’s still stuck, use your flathead screwdriver or cleat ripper to get a better grip and twist again.
4: Keep Going!
- Repeat this process for all the spikes on both shoes.
- Take your time and be patient. The spikes may come out easily, or they might need some extra coaxing.
5: Clean Up
- Once all the spikes are out, check the spike holes for any dirt or debris. Use your spike wrench (or a toothpick) to clear out anything that’s blocking the holes.
- Give your shoes a quick wipe-down to remove any remaining dirt.
That’s it! You’ve successfully removed your golf shoe spikes! Now, your shoes are ready for a fresh pair, giving you better traction for your next round on the course.
Just remember, if you lose a spike during a round, having a spike wrench in your golf bag can be a lifesaver – it’s almost as good a tool as your three-wood!
Troubleshooting & Tips
Are you having trouble getting those spikes out? Don’t sweat it! Here are a few tips to tackle those stubborn ones:

Stubborn Spikes
- Soak Longer: If the initial soak didn’t do the trick, let those shoes soak a bit longer in warm water. Sometimes, they need a little extra time to loosen up.
- WD-40 to the Rescue: A little spritz of WD-40 around the base of the spike can sometimes help break it free. Just let it sit for a few minutes, then try twisting again.
- Pliers for Extra Grip: If you’re still struggling, try using a pair of pliers to grip the spike. Gently wiggle it back and forth while twisting it with your wrench or screwdriver.
Tips for Putting in New Spikes
- Match them Up: Make sure your new spikes are the right type and size for your shoes. Check the manufacturer’s instructions if you’re unsure.
- Screw Them In Tight: Use your spike wrench to tighten the new spikes. You want them to be snug, but don’t crank them down too hard – you don’t want to strip the threads!
- Start Small: If you’re new to changing spikes, start with just one shoe. That way, you can use the other shoe as a reference if you get stuck.
Remember, patience is key! If you need help, please don’t hesitate to force it. Could you take a break and come back later? If all else fails, a local golf shop can always help you out.
With a little elbow grease (and maybe some WD-40), you’ll have those spikes out in no time, and you’ll be back on the course with fresh cleats and confident traction in your swing!
Conclusion
There you have it! You’ve mastered changing out those golf shoe spikes.
Don’t let stuck or worn-out cleats keep you from enjoying your game. With the right tools and know-how, you can keep your shoes in tip-top shape every round.

Remember, maintaining your spikes is key for a good grip and a powerful, accurate swing.
Just like you wouldn’t use a worn-out driver, don’t let your shoes become a weak link in your game. Please take a few minutes to check your spikes before each round. If they’re looking worn, dirty, or are hard to pull out, it’s time to change them.
Think of it this way: your feet are just as important as any other part of your body when you’re out on the course.
So keep them happy by giving them a clean pair of spikes every so often. You’ll be surprised how much better you’ll feel – and play – with that extra grip and stability.
So go on, hit the course with confidence!
Frequently Asked Questions
What do I do if my golf shoe spike is really stuck?
If you’ve soaked your shoe and the spike still won’t budge, try spraying a little WD-40 around the base of the spike. Let it sit for a few minutes, then try twisting again with your spike wrench or pliers.
Can I use a drill to remove a stuck spike?
No, never use a drill or any power tool to remove a spike. It can damage your shoe and potentially cause injury. Change spikes are a good thing to do.
How often should I change my golf shoe spikes?
It depends on how often you play. If you’re a frequent golfer, check your spikes every few rounds and replace them when they look worn down or you notice you’re slipping.
Are metal spikes better than plastic spikes?
Metal spike offer the most traction, but they can damage the greens. Plastic spikes are more environmentally friendly and come in different grip options. The best choice depends on the course you play and your personal preference. Sometimes, stuck spikes are better.
What should I do if I lose a spike on the golf course?
It happens! If you have a spike wrench in your golf bag, you can easily replace the lost spike. If not, try to find a temporary replacement (like a small pebble) to fill the hole until you can get a new spike.


